To connect your TV with your wireless network, you only need a compatible WLAN-Router. Your TV is able to receive WLAN without additional accessories.
How to connect my Philips TV to a wireless network (WLAN)?
Published on 24 June 2026
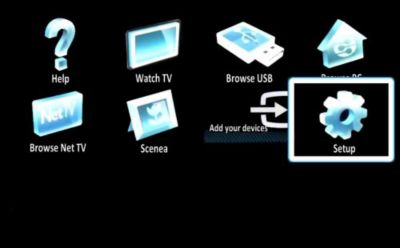
Step 1
Press [Home] on your remote control and select [Setup].
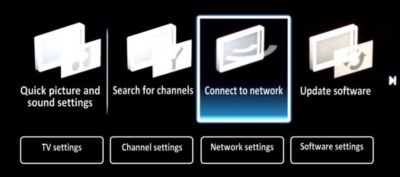
Step 2
Select [Connect to network] and confirm by pressing [OK].
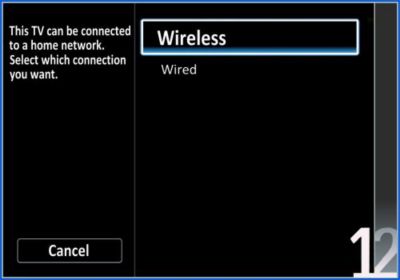
Step 3
Select [Wireless] and press [OK].
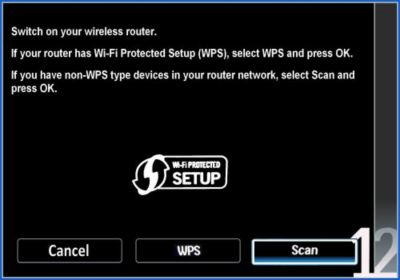
Step 4
Go to [Scan] and confirm.
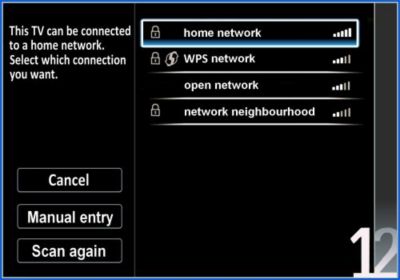
Step 5
Select your network and confirm with [OK].
Note: The displayed network name varies, depending on your router.
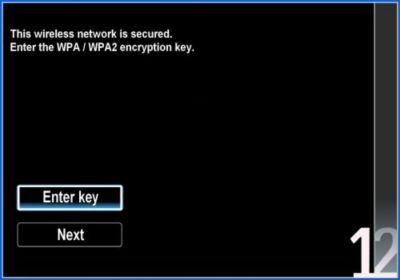
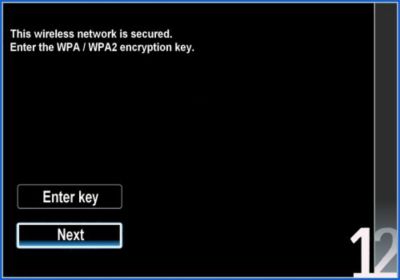
Step 6
Select [Enter key] and press [OK].
Note: The encryption key must only be entered once. Your TV will save the entered key.
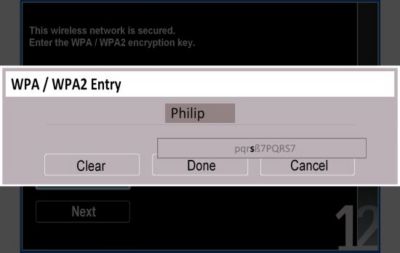
Step 7
Use the numeric keys on your remote control to enter the encryption key and confirm [Done] by pressing the [OK] button.
Note: The encryption key is set by the router and is usually located on the back or bottom of the router.
Step 8
Confirm [Next] by pressing [OK].
Step 9
Connecting may take several minutes, please have patience.

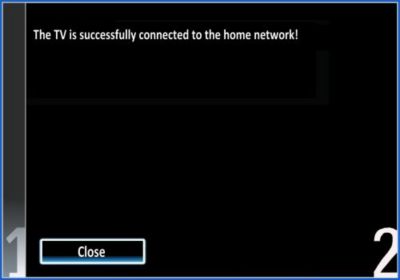
Step 10
Please press [OK] once the connection is completed.
Step 11
A note on network function appears, press the [OK] button to complete the connection.
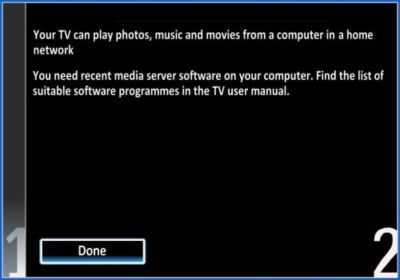
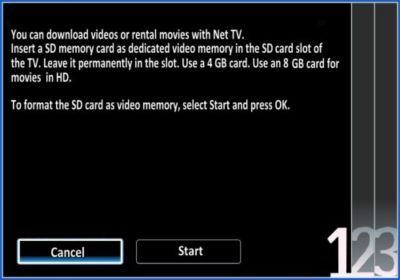
Step 12
After completing the network connection, a wizard for setting up a video store automatically appears on screen. Confirm [Cancel] by pressing [OK] to exit the wizard.
Now your TV is connected to your network.